How to add a property to our new
Control Centre

Click Add New Listing
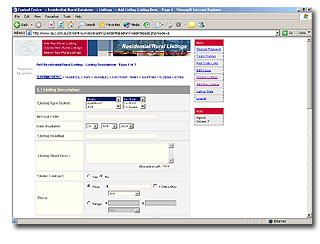
1)Listing
Description
Listing
Type/Status - Select Property Type and also if it is for
sale, lease, rent etc.
Internal
Code - Formerly Membership code
Date
Available - Enter Day/Month/Year
Listing
Heading - Header you wish to display property under.
Listing
Short Desc. - Enter a Description of the property (Limit
1500 Characters)
Under
Contract - Select from radio buttons, either YES or NO
Price
- Select either Price or Range.
If
Price is selected, enter price and if you wish to use it,
tick box for Offers Over.
Also You have the choice of Per week, Per fortnight, after
rebate underneath in drop down box.
If
Range is selected enter bottom price in first box and top
price in second box.
Also You have the choice of Per week, Per fortnight, after
rebate underneath in drop down box.
Price
View - This is where you can enter price in free text eg."Outstanding
Value at 140,000!"
You must also enter price in Price section as it is needed
for database search purposes.
Domain/Real
Estate Price - This is where you enter price you wish to
be displayed by domain.com.au and realestate.com.au
2)
Listing Location
Street No. & Name - Enter Property street number in
first box.
Enter Street name in second box.
Street
Type - In drop down box select street type such as Street,
Avenue, Drive.
State
- Select State property is in from the drop down box.
Click Select Region and Choose Area and Region of the property.
Town/Suburb
- Select Starting With or Containing via radio buttons.
Starting with - eg Glen for Glen Innes or even just the
first letter P for Pymble
Containing - eg. The town or suburb contains the text you
enter eg. dale for Annandale
Once
you have selected either Starting with or Containing type
in the box below and the box below that will automatically
search for towns
or suburbs starting with or containing your input. Once
you see the suburb you want in the box click it to select
it.
Postcode
- This will be automatically determined by the Town/Suburb
chosen in previous step.
Municipality
- Enter the Municipality the property is in.
3) Features
Rooms
- Bedrooms - Select 1 to 10
Bathrooms - Select 1 to 10
Land
Details - Enter Property Frontage whilst selecting measurement
- Enter Land Size whilst selecting measurement
Garage/Sheltering
- From the drop down boxes select number of Garages, Car
Ports or Parking Spaces
Virtual
Tour URL - If you have a link to a Virtual tour for the
property enter it here
External
Link URL - If you have another website address you would
like to appear in the listing enter it here
Click
Next (Agents) to go to Page 2

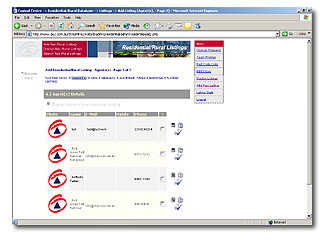
4)
Agent(s) Details
Tick
the Agent involved with the property.
Click
Add Agent if you wish to add a new agent that doesn't appear
in the list above.
Also
if you wish to Delete an agent from your office tick box
next to their name and click Delete Selected.
Click
Next (SMS) to proceed to Page 3

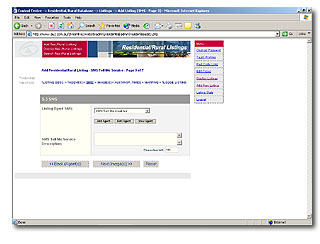
5) SMS
Listing
Agent SMS - If you wish to list an Agents SMS Select them
from the dropdown box.
Add Agent - If you wish to add an Agents SMS that isn't
in drop down box already
Edit Agent - Edit selected Agents SMS details
View Agent - To view selected Agents SMS details
SMS
Tell Me Service Description - 160 Characters Maximum description
of the property for use with SMS/Tell Me service if enabled.
Click
Next (Images) to proceed to Page 4

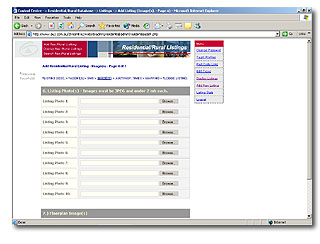
6)
Listing Photo(s)
You
can enter up to 10 images, each must be under 2mbs.
Click
Browse and find image you wish to display next to each box.
7) Floor plan Image(s)
Use
this the same as the Listing Photo(s) section except you
can only use 2 images. These must be floor plan images of
the Property.
Click
Next (Auct/Insp Times) to go to next page

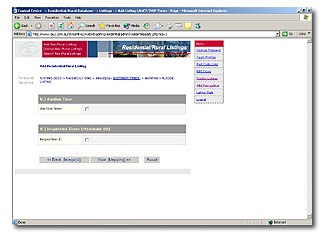
8)
Auction Time
Auction
Time - Tick Box if you wish to sell property by Auction
If you tick this box, it will present you with an area to
select Auction details such
as DAY, MONTH, YEAR, Start Time and Venue.
9)
Inspection Times
You
may have up to 10 Inspection Times for the property.
Tick
the box next to Inspection 1 and you will be presented with
an area
to fill in details such as DAY, MONTH, YEAR, Start Time,
End Time and Venue.
If
you wish to have more than one inspection repeat the steps
with Inspection 2, 3 etc.
Inspection
Details - Enter details of the Inspection here 255 characters
maximum.
Then
Click Next (Mapping) to proceed to next page

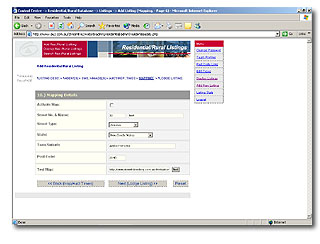
10)
Mapping
If
you wish to activate Map for your property tick the box
Most
details about the properties location should be automatically
filled in.
Click
TEST in Test Map section to view a demonstration of the
map for this property.
Click
Next (Lodge Listing) to proceed to final page

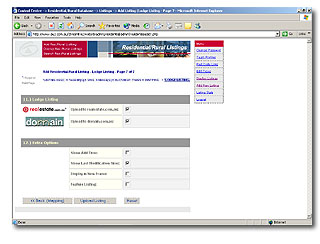
11)
Lodge Listing
These
are already preselected. If you do not wish to have your
property listed
with Realestate.com.au or Domain.com.au please deselect.
12)
Extra Options
Show
Add Time - Displays time property was added to the system
Show Last Modification Time - Displays last time property
was modified by your office
Display in New Frame -
Feature Listing - Tick this if you wish for the property
to become your Feature Listing
CLICK
Upload Listing to complete the addition of the listing
This
may take a few moments.
PREVIEW
LISTING - To view listing
VIEW
ALL LISTINGS - To view all of your offices listings currently
on system

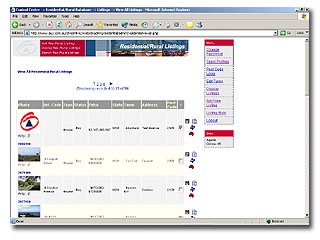
Go to View All Residential/Rural Listing screen
which can be accessed by clicking
Display Res./Rural Listing on menu at top
of screen.
Next to Property you wish to view click the  icon. This will open a preview of the listing.

Go
to View All Residential/Rural Listing screen
which can be accessed by clicking
Display Res./Rural Listing on menu at top
of screen.
Then
click next to the tick
box beside the property you wish to edit. This will present
you with next to the tick
box beside the property you wish to edit. This will present
you with
the same pages as adding a property except this time they
are already filled in with the details you provided when
listing
the property. Change whatever you wish to change about the
listing clicking next down the bottom to proceed to next
page if area
you wish to change isn't on the page you are on. When you
are finished making changes click SAVE down the bottom of
the page to put the
changes into action.


Select
property you wish to remove from system by click the tick
box beside that property 
Then
scroll down to bottom of screen and click 
It
will present you with the following option box
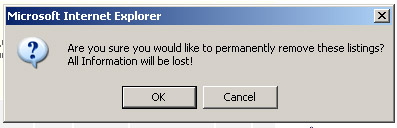
If you have decided you do not wish to proceed click cancel
or if you wish to proceed click OK.
|